

After many years of inactivity, I’m jumping back into youtube with a video I made with Jeremy all about seed starting, and you can take a look here and further down in the blog post! It would be a huge help if you subscribed, it’s not easy to make the videos, but I am definitely enjoying it, and I hope it’s helpful for you to see the seed starting process in-action. From this long yarn on how to start seeds, to updates on the garden’s progress, you guys could probably tell that I’m pretty obsessed with plants. My earliest memory is being in the yard with my dad; I was attempting to help him harvest carrots, but when I pulled up on my carrot the top broke off, and when I flipped it over to look at it, saw that it was completely full of bugs (apparently they had eaten through the carrot part). I screamed, threw it across the yard, and ran inside. Luckily, that experience didn’t mar my future gardening endeavors, and I quickly became as obsessed with plants as my parents.

Once we moved to our new house when I was about 3 and a half, each of us three kids got to pick a seed we wanted to start and those three veggies would be the first harvest from the new garden. I planted a radish, my sister planted a carrot, and I can’t remember what my little brother planted. A melon maybe? I don’t know. But the only one that came up was my radish, and I could hardly believe that this little speck I dropped in the ground actually turned into something. As I got bigger I attributed this to my green thumb, but having worked with seeds and plants for many years, I know that this was most definitely because radishes are pretty much the easiest things to grow from seed, ever. Carrots take their time to sprout, and melons need some pretty warm weather to get going, so mine was the first to come up.
Still, it gave me a firm footing in the garden, and many years and plants later, I still get a huge burst of excitement every time I see the tip of a little green sprout start to break through the soil’s surface. It’s like each one is a little friend poking out to say hello! (If you weren’t sure if I was a weird plant lady or not, I’m pretty sure that question has now been answered). So today I am going to go over how to start seeds at home, so that you can not only experience this wonder first hand, but end up with some delicious home-grown fruits and veggies, too!

Why Should I Start My Own Seeds?
Good question! There’s a few reasons why I would really encourage you to try starting seeds yourself at home. First off, the vegetables and fruits from your garden will taste soooo much better than the stuff you can buy at the store, plus you can grow old heirloom varieties that you straight up cannot buy already grown anywhere.
- Flavor: Heirloom produce varieties are bursting with flavor. Commercially available produce is bred predominantly for ease-of transport—they need to be firm and hard to hold up during shipping, and then flavor is the secondary breeding factor (sometimes even the third factor after appearance). But since your produce is just being moved from your yard to your kitchen, you can choose heirloom varieties solely based on flavor alone.
- Cost savings: Knowing how to start seeds + putting it into practice can be a lot cheaper than buying seedlings from a nursery or garden center, especially if you’re planning on having a large veggie or flower garden.
- Greater variety: When you start your own seeds, you have access to a wider variety of plants than you might find at your local nursery or garden center. There are thousands of different heirloom seed varieties out there, for whatever produce you’re into.
- Control over growing conditions: When you start your own seeds, you have control over the growing conditions, including the type of soil, fertilizer, and water that your plants receive. This can help you make sure that your produce is grown without chemical fertilizers or cancer-causing pesticides. This can also lead to healthier and more vigorous plants, too!
- Good for your mind + body: Starting your own seeds is a great way to learn about plant growth and development, and add an incredibly useful life skill to your repteoir. Plus, gardening is a low-impact physical activity that’s incredibly good for you (all the blue zones have active gardeners), and is a really relaxing and stress-reducing hobby.
Where Should I Get My Seeds?
I’m a bit of a seed hoarder and have been collecting rare heirloom seed varieties for several years now, and my seeds number somewhere in the thousands (kiiiiinda scary when I actually type that out). With some of the heirloom varieties, you can see why they started to pitter out in popularity as compared to the more engineered varieties (not very disease resistant, slow-growing, etc), but other heirlooms are more disease resistant, taste better, and grow faster than the more popular commercial varieties, so you never really know for sure what you’re going to get in terms of production and hardiness in an heirloom until you give it a shot. Like all the other purchases in my life, though, I mine through the online reviews to get a good feel about the quality of the plant before I buy my seed packets, and I recommend you do the same.
My favorite sites for heirloom seed sourcing + preservation are:
What Do I Need To Start My Own Seeds?
- Soil: The most important thing is the soil you’re starting the seeds in. I recommend using a 50/50 blend of your native garden soil and a seed starting potting soil mix. A seed starting soil mix is one that’s blended with extra peat moss or coconut coir to help the soil retain moisture and keep it light so that the small roots of the seedling can spread through it easily. And your native garden soil is the soil where you plan on eventually transplanting the seedling outside once it’s big enough. I recommend a blend of both of these to keep the soil light, but also introduce the composition of your native soil to the seedling early on, so that it doesn’t go into shock when it’s eventually transplanted into a completely foreign soil mix. To minimize chemical exposure, I recommend getting an organic seedling mix that’s OMRI certified. You can see a list of OMRI-certified products here. My personal favorite seed starting soil mix is from Black Gold.
- Seedling Tray: This is where the seedlings will grow, it’s really helpful to have one that’s already divided into individual cells, since it will make transplanting a lot easier. You can also easily save and re-use the ones that any plant starts come in from the nursery.
- Seedling Heat Mat: This is basically a waterproof heating pad that you place underneath your tray of seedlings to help warm the soil and increase the amount of seeds that sprout + grow. It makes a *huge* different in your germination rate, so I definitely recommend investing in this. Plus they last a long time, I’ve had mine for at least 8 years, I use it for months every spring, and it’s still going strong.
- Domed Propagator with Extenders: This is basically a miniature greenhouse that will keep all the seeds nice and cozy, and keep any water run off that comes out the bottom of the seed trays from running out onto your household surfaces. The one I linked comes with two extenders that allow you to raise the roof of the greenhouse as the seedlings grow in height, but if you want something smaller and more affordable, you could try this smaller one that’s basically a seedling tray + mini greenhouse all in one. You could also try and DIY this with plastic wrap and a deep casserole dish, but the height is going to be really limited once the seeds actually sprout and start growing.
- An Indoor Watering Can With a Small Spout: It’s important to use a small-spouted watering can because the seeds can shift in the soil if the water is flowing too heavy, and this can damage the tender sprouting roots coming out of the seeds. Any small indoor watering can will work well, and if it has a rain-style spout that’s even better since the water droplets are even smaller and more gentle. This Haws Indoor Watering Can is the one I have and love.
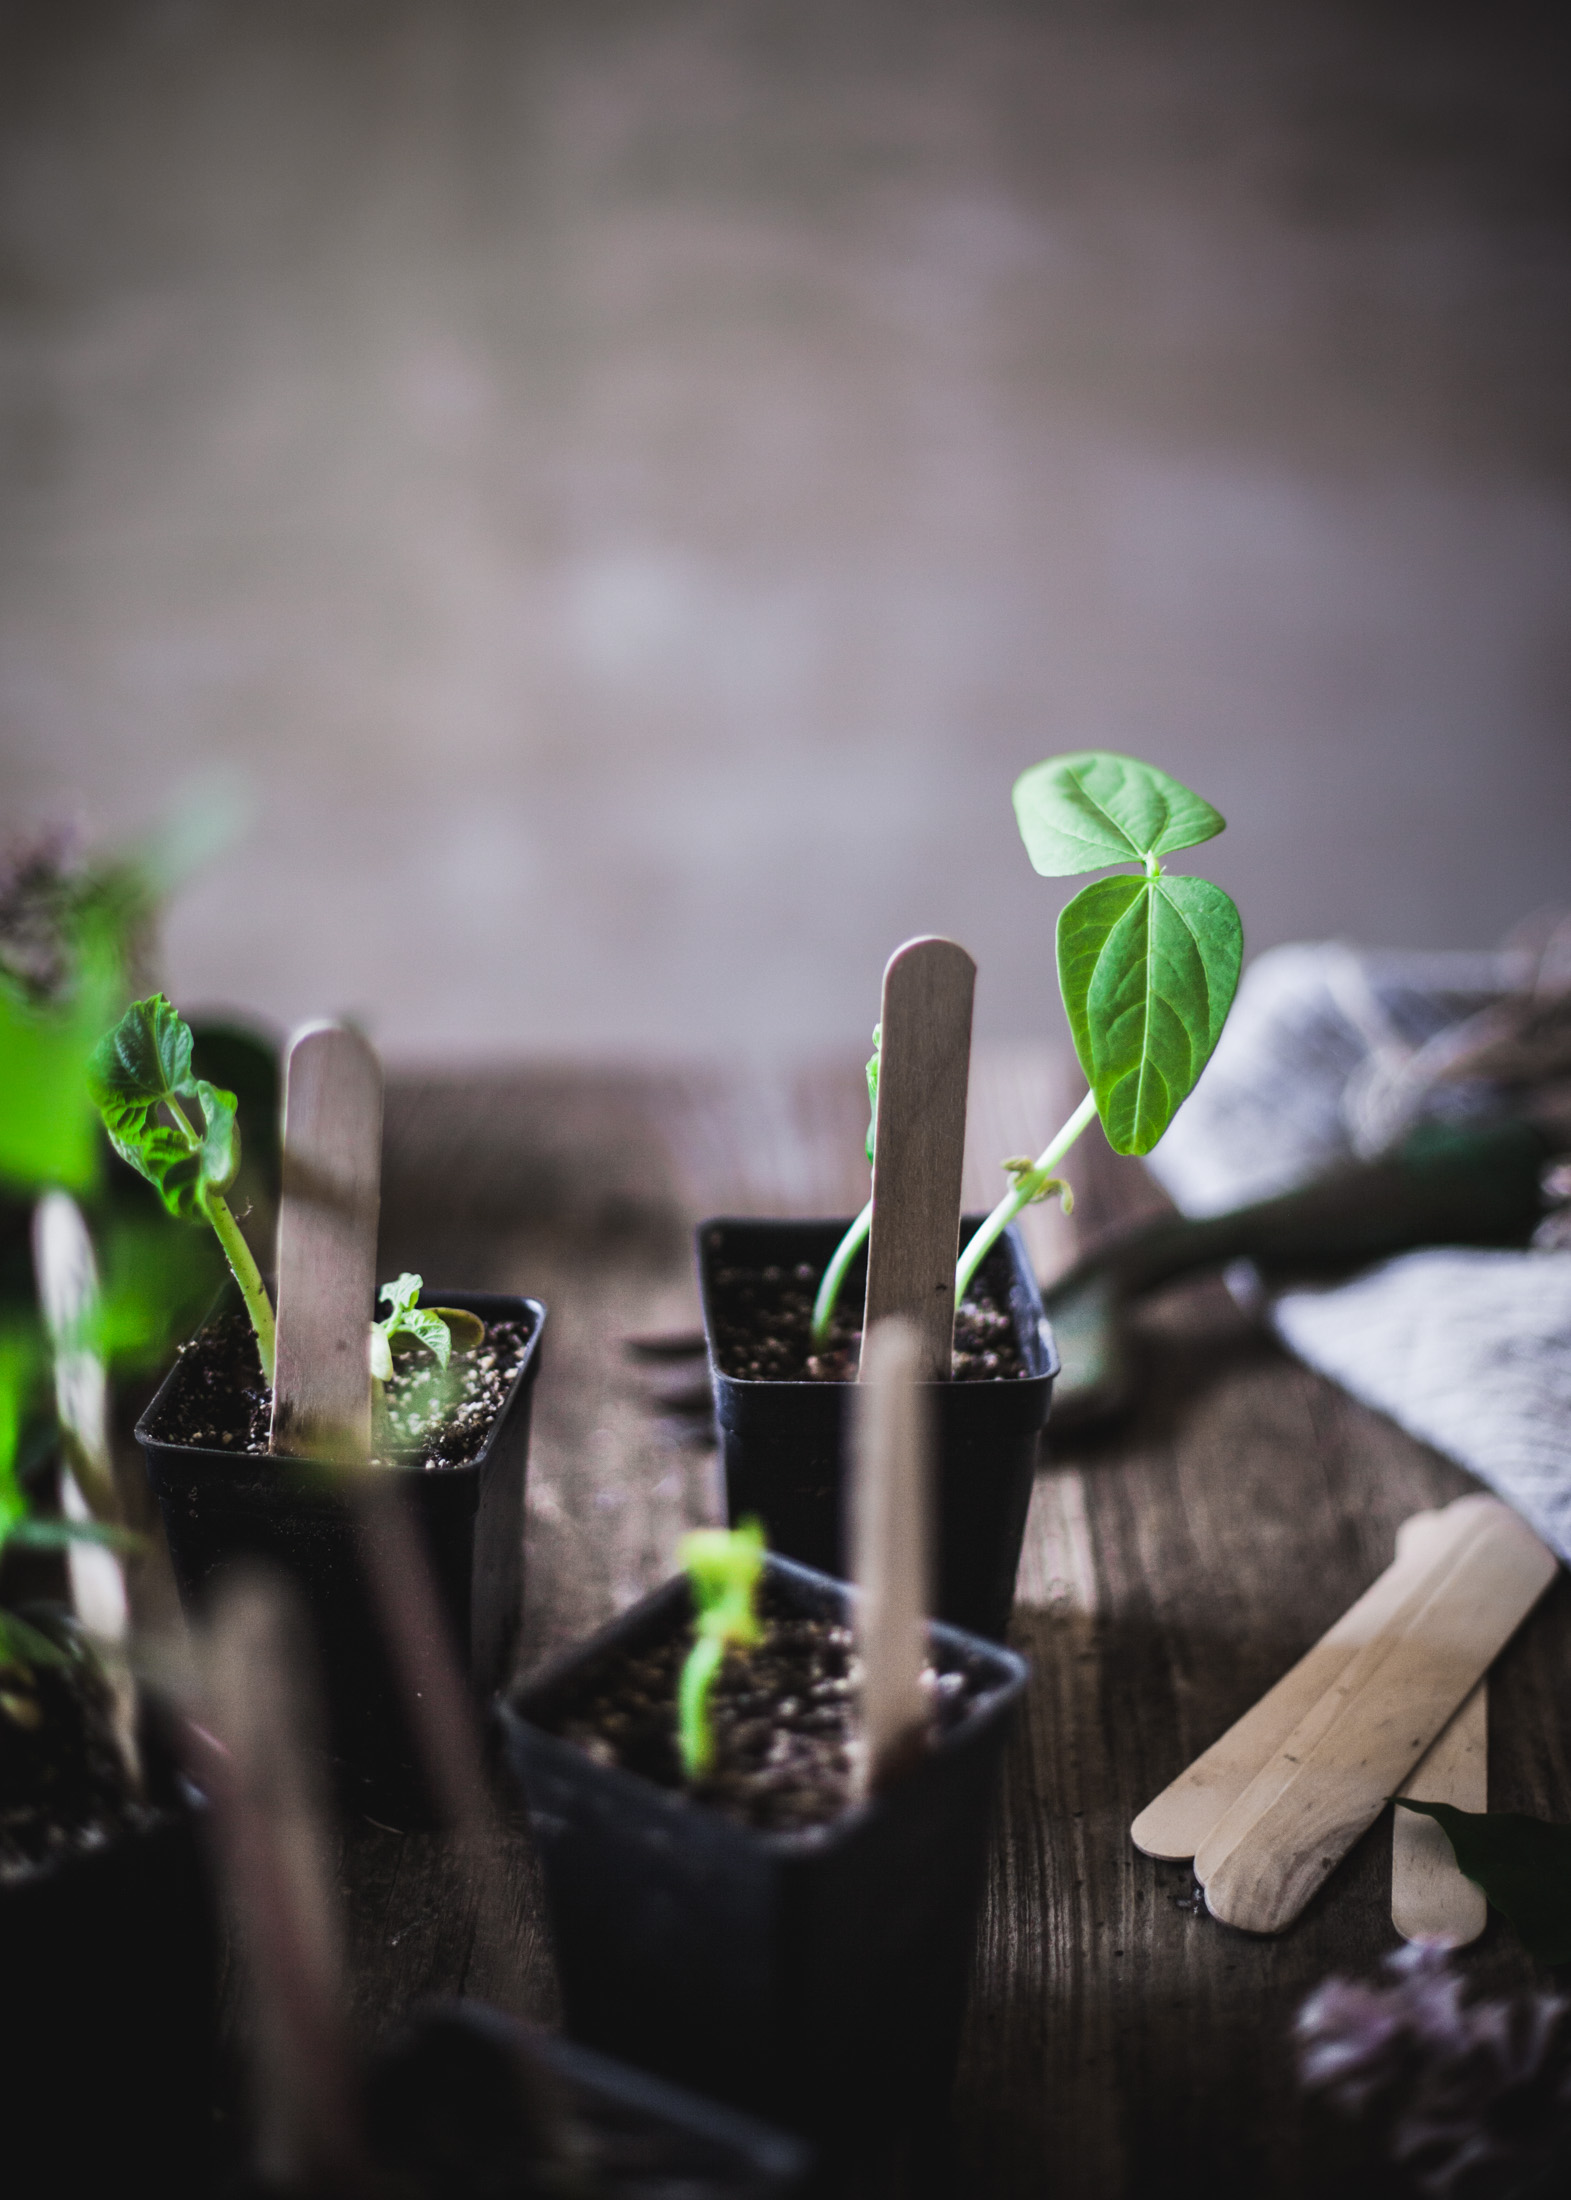
- Plant Labels/Tags: Labeling is super important when you’re starting seeds, because once they’re all under the soil you won’t be able to tell them apart. Using plant stakes will help you keep track of which seedlings are which. I really like using food-grade popsicle sticks since they’re biodegradable and non-toxic. I’ve also cut apart the plastic from old milk jugs to create plastic plant stakes that I can reuse for years.
I hope this encourages you to get your hands dirty and start some seeds this year, it’s such a fun hobby and incredibly rewarding in more ways than one. And this is an especially important year to grow your own produce because of the extreme weather issues that have been hitting the state of California. California grows the vast majority of the produce sold + eaten in the United States, and California has had intense snow storms and flooding this winter that have really devastated the farming industry. So what that means is that the cost of all produce is going to go up, a lot, unless the government intervenes to keep prices down. So just a head’s up that this is the prime time to get on top of your spring planting + grow some tasty veggies!

How to Start Your Own Seeds at Home
Ingredients
- Seeds
- Seed Starting Soil Mix
- Indoor Watering Can with a Small Spout
- Gardening trowel
- Seed Starting Tray
- Plant Labels (popsicle sticks work great)
- Seedling Heat Mat
Instructions
-
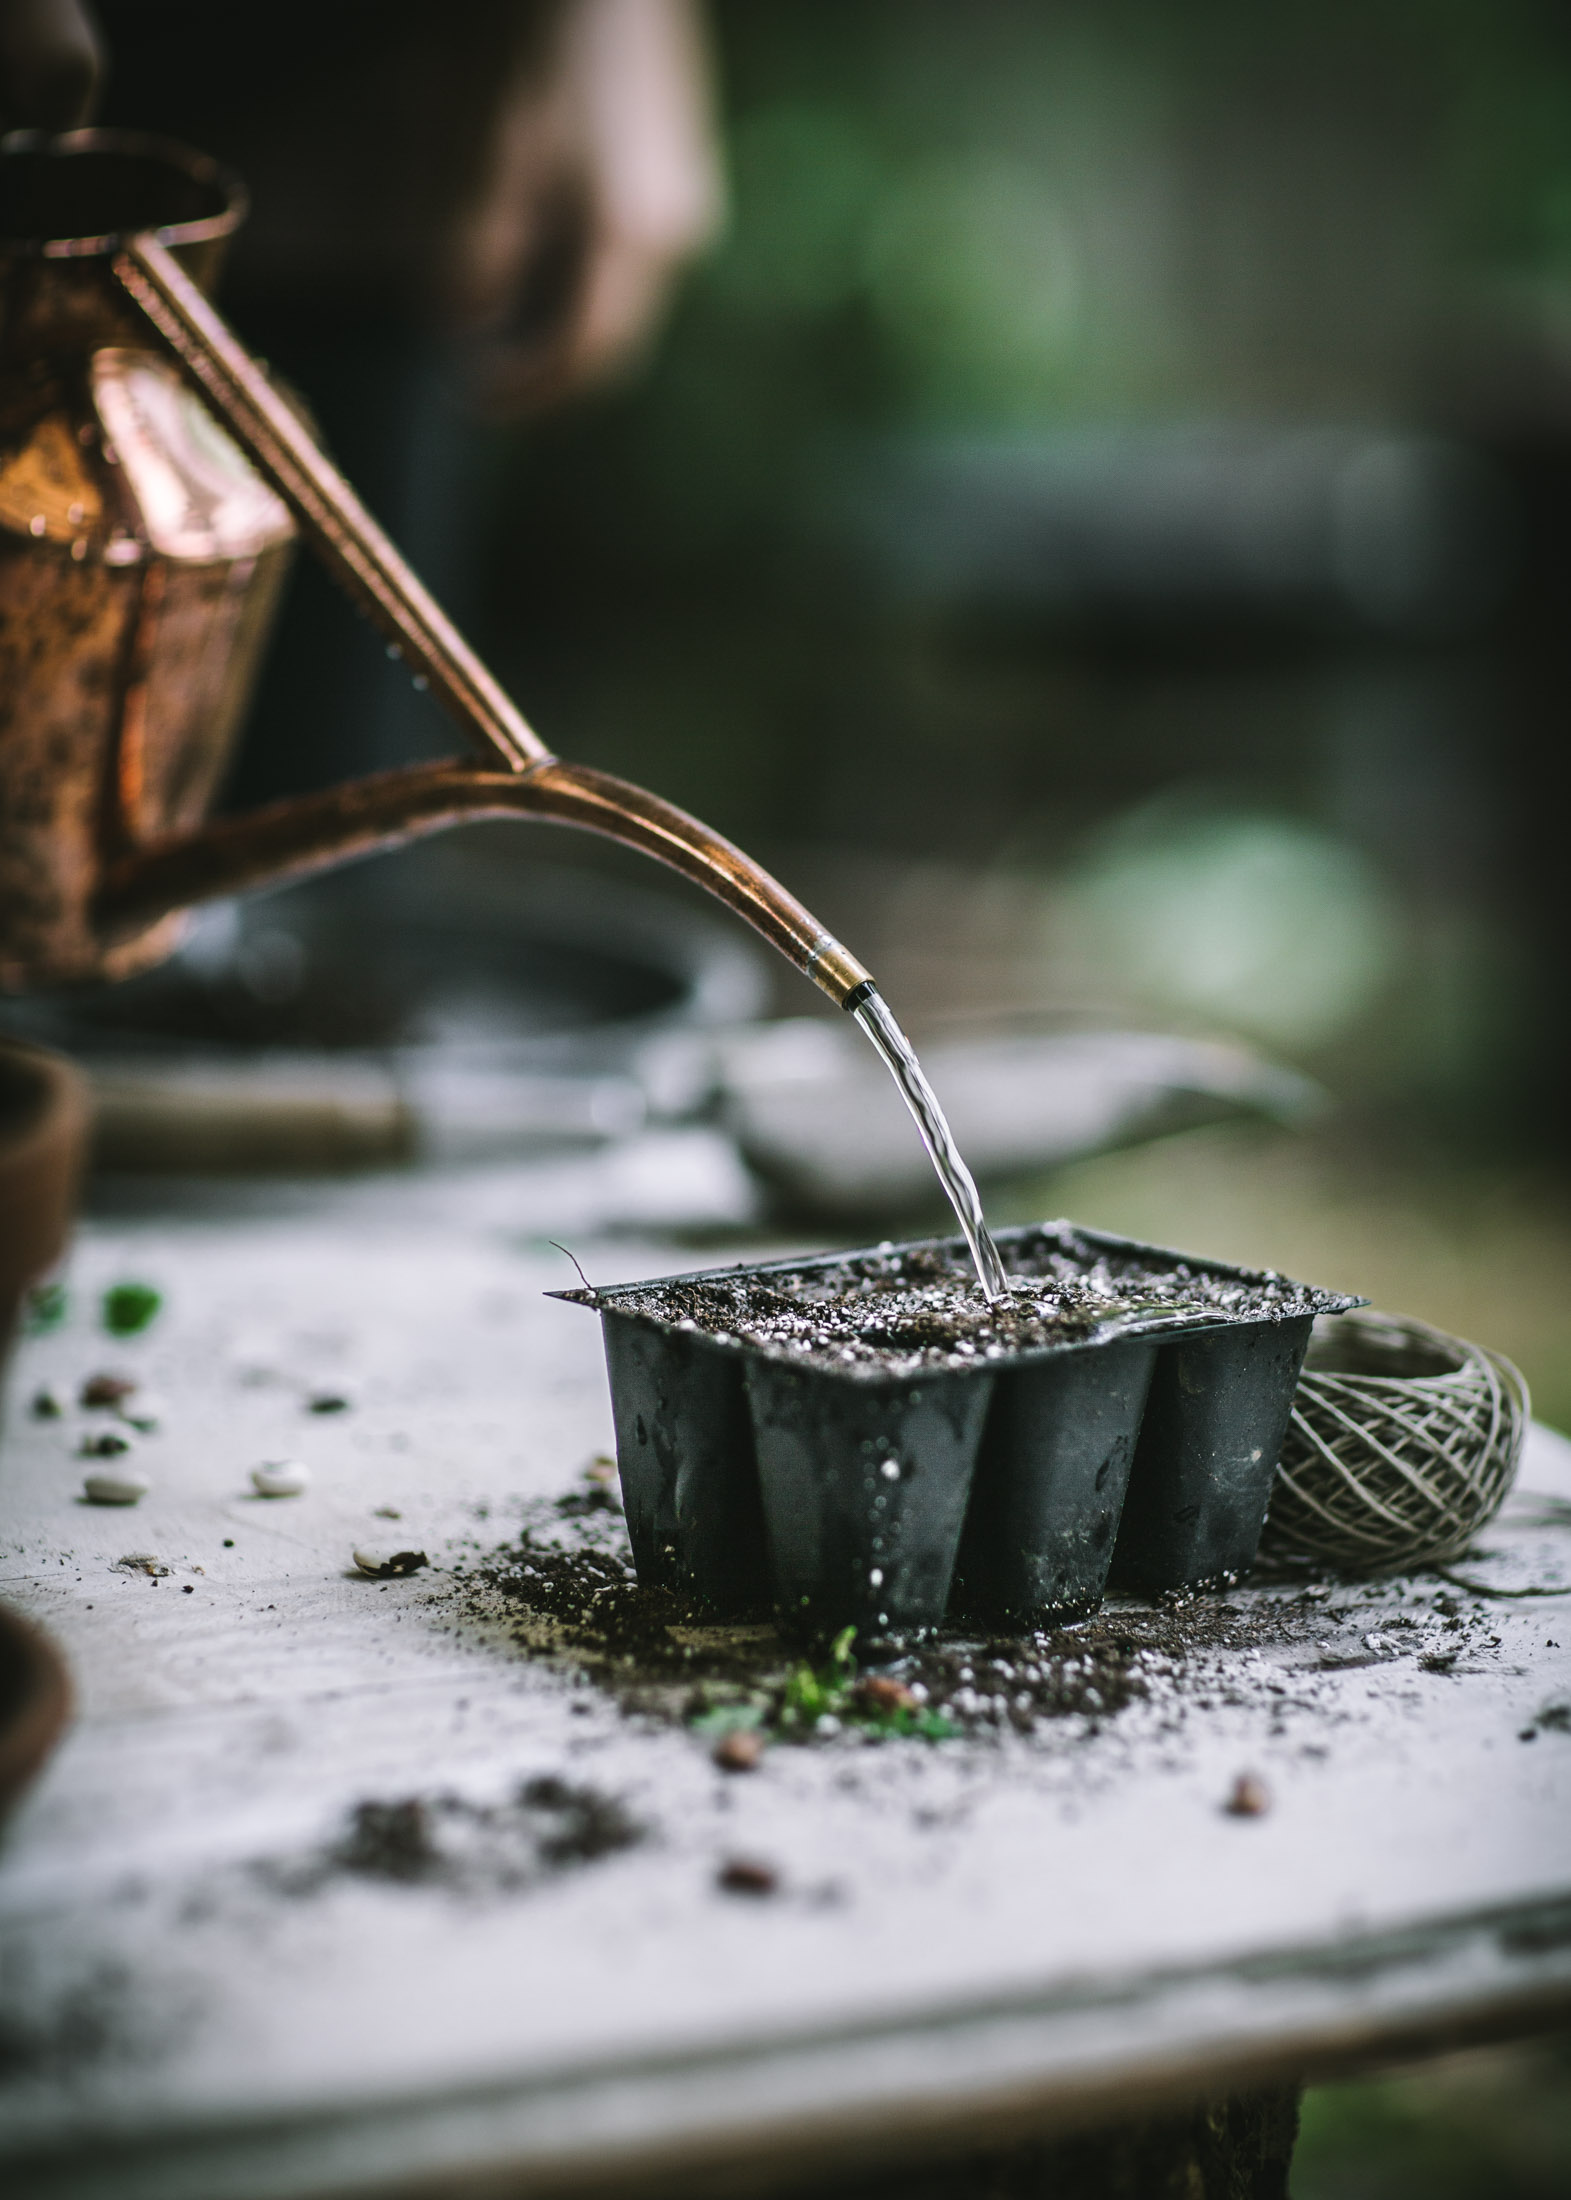
Write down the seed varieties on your seed stakes and set them aside. Fill the seed starting tray with the seed starting potting soil. Tap the tray down gently a couple times to help the soil settle. Water it thoroughly until the water starts coming out the bottom of the tray, then pause and wait for a minute, and repeat twice more. The soil should now be very damp
-
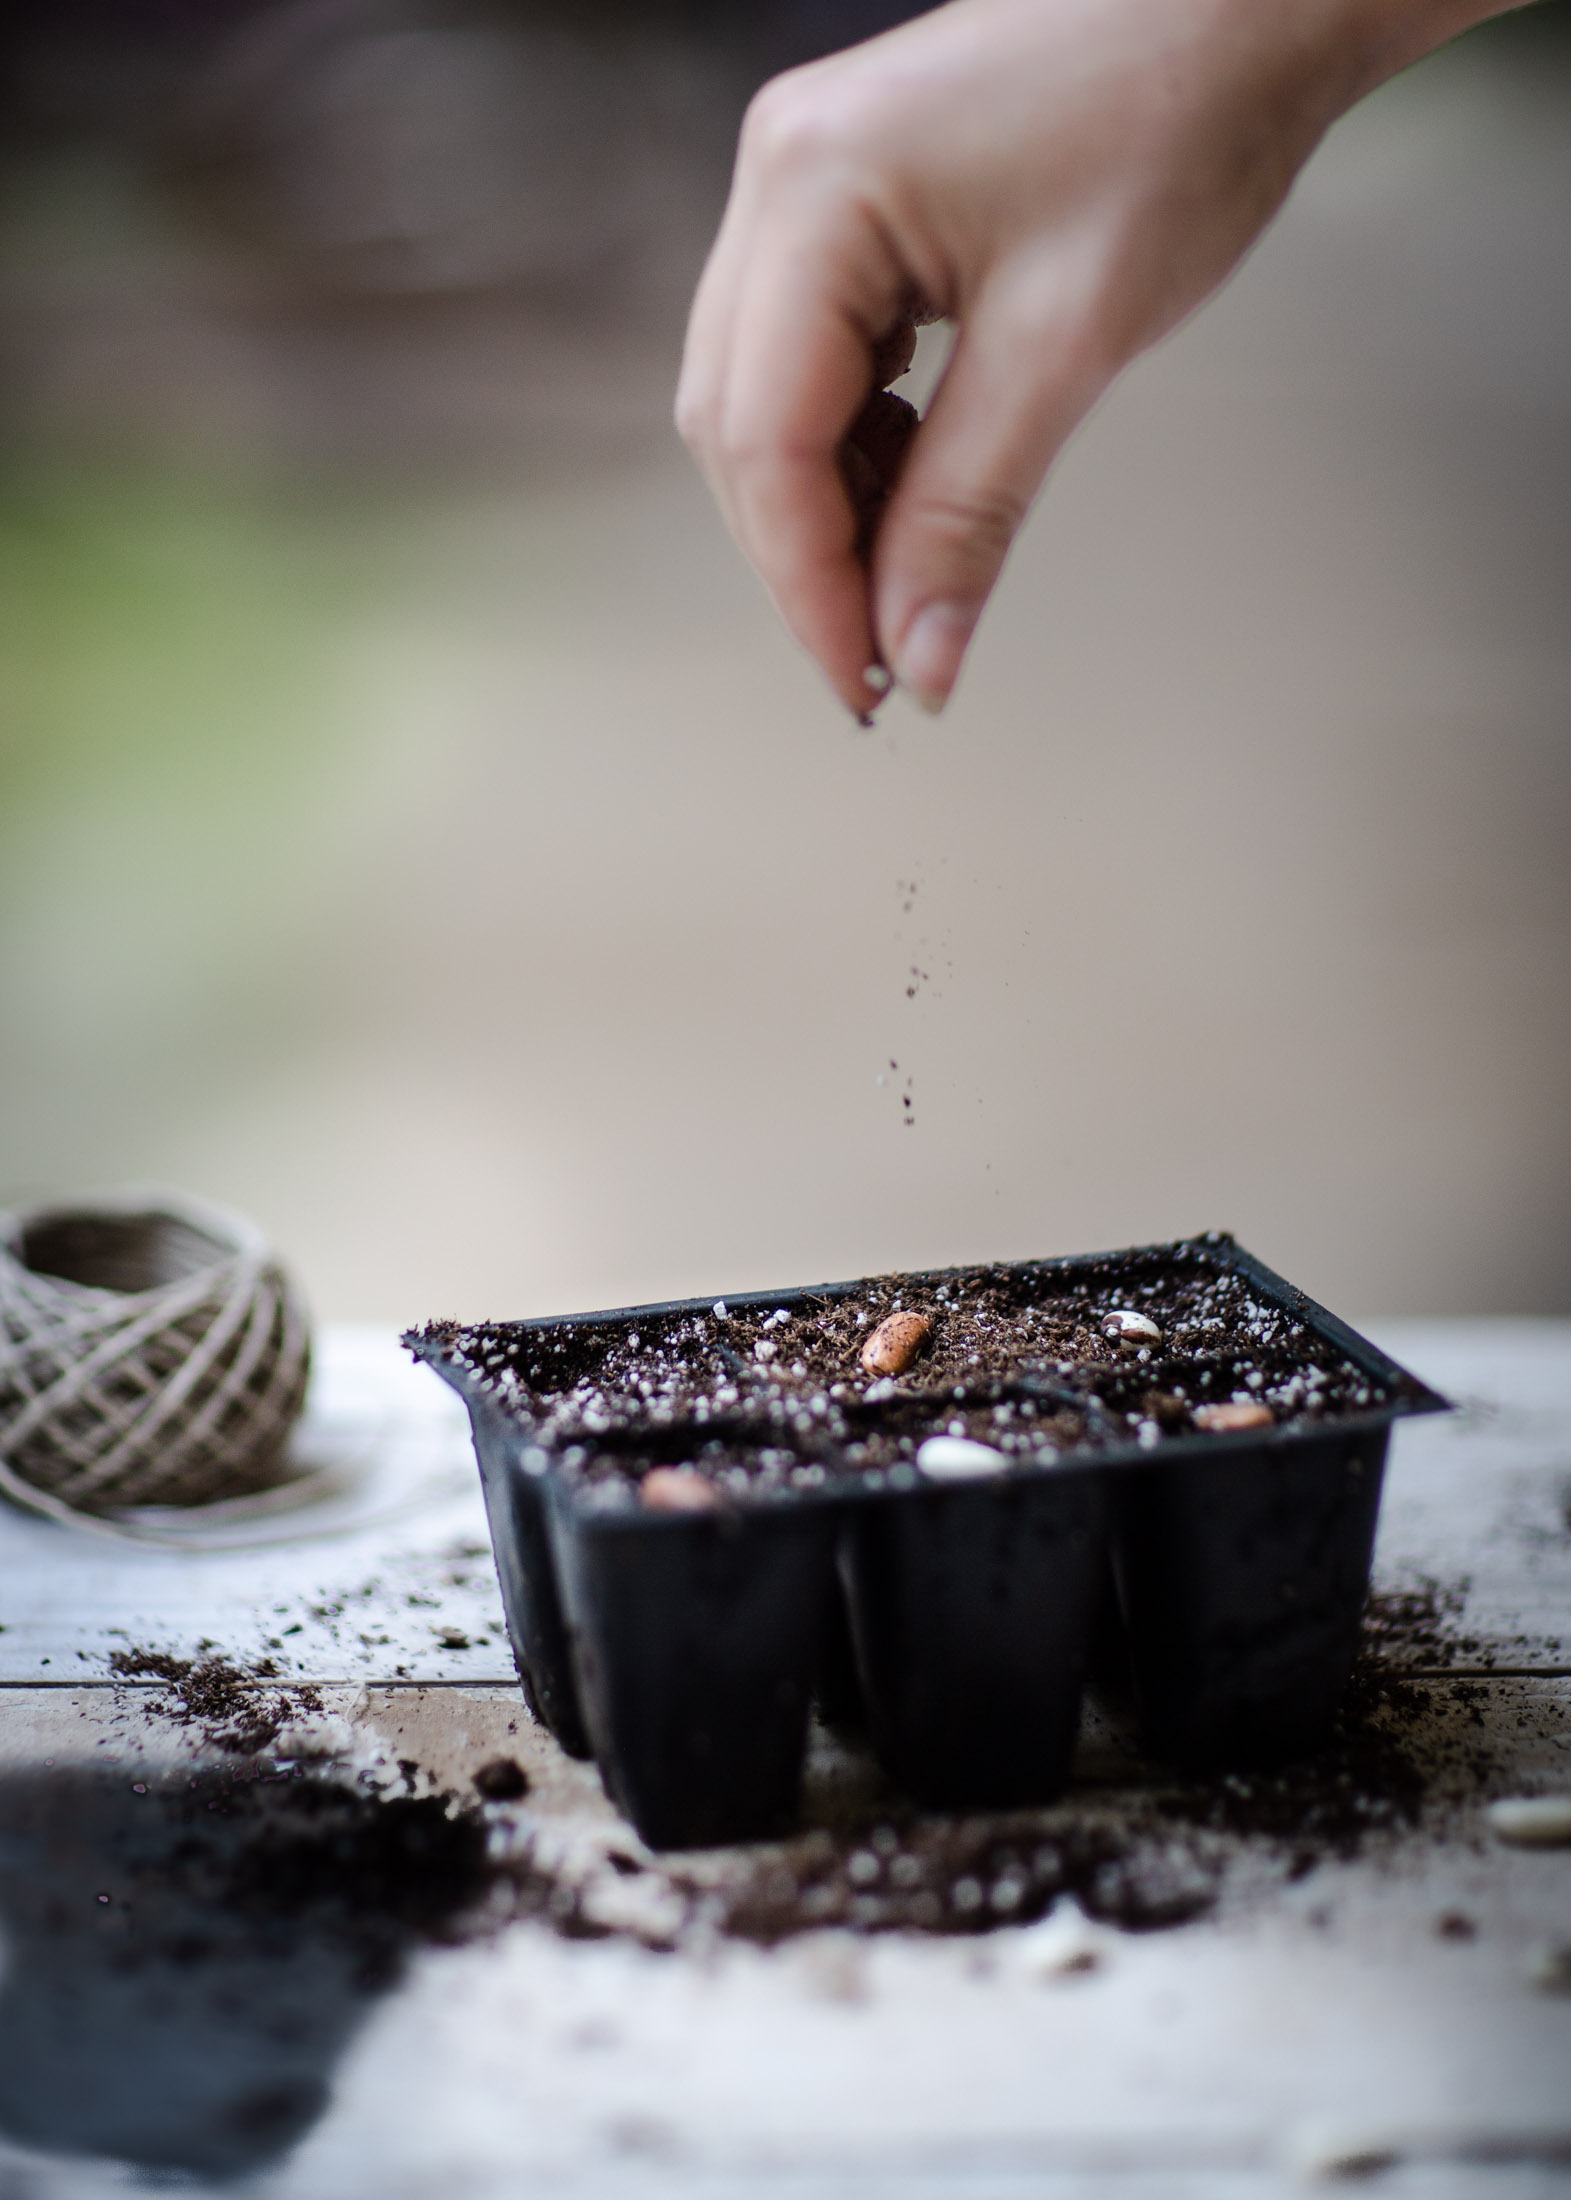
Read the sowing instructions on the seed packet to determine how deep the seed should be sowed into the soil. Strawberry seeds, for example, should just be scattered on the surface of the soil, then topped with a very thin sprinkling of soil. Beans, on the other hand, should be sown about 1-inch deep.
-
Once the seeds are sown, insert the seed stakes into the assigned container so you can keep track of which seeds are which. Water thoroughly once more. It is very important, however, that you water with a thin gentle stream of water, because trying to water light soil like seed starting mixes with a strong stream can actually splash and dislodge the soil and seed, damaging the germination process.
-
Place the seedling heat mat inside the domed propagator, and then place the seedling trays on top. Place the domed propagator in front of a south-facing window in your home and plug in the heat mat.
-
Water about once a day, increasing the frequency if it is hot. The trays will drain water out the bottom each time you water them, it's okay if there's a little bit of water in the bottom of the propogator since it will keep it nice and steamy in there, but make sure there's not a bunch of standing water, (like more than 1 cm), since that can cause rot issues with the seeds.
-
Keep in mind the germination time for the seeds you are sowing before giving up on them and tossing the soil in the compost. Different types of plants germinate (sprout) at different lengths of time, and some varieties, like peppers, can take several weeks to germinate.


This is such an awesome post! I've spent a little time gardening in the past and I really want to do it again when I have the space someday. This is the type of thing I wish I had read before starting. It's so helpful and well written! Thank you for sharing!
Thanks for the tips! I have been trying to grow herbs from seeds for the past couple of years and I have yet to be successful. They keep dying 🙁 Planning on using these tips for my next adventure!
I love heirloom tomatoes! I wish I had an outdoor space to have a garden!
Her Heartland Soul
http://herheartlandsoul.com
gorgeous photos and tips!
stop by and chat with me 🙂 http://storybookapothecary.com ♥
All my babies from you are comin' along, especially with this hot weather!
Great tips! Thanks for sharing. I don't know what you do better – photography or gardening. Your photos are astonishing! You make gardening looks like a simple level DIY project. This is definitely one of my favorite blogs!
omg your photograhpy is amaziiiing!! absolutely love your style <3<3
https://aspoonfulofnature.wordpress.com/
Great post, really! Thank you for sharing a precious memory. I would love to have the same sort of inspiration. Keep going!
Hi Eva, It’s Bakers Cree(k) Heirloom Seeds, not creed. I love their seeds.
Thank you for the head’s up about the typo, Melanie! I am so glad you use their seeds, too, they have so many amazing varieties!!
Oh, Eva. What a lovely post. (Well, all of your posts are lovely-lol)
But I love how much info you packed into this one. I’ve been trying to grow Dahlia seeds the last few years myself.
Of course, your lush images are gorgeous and inspiring.
I popped over to see the video too and what another treat.
Happy seed sowing in your neck of the woods. xoxo
Aw thank you Lisa! And flower seeds are much harder than vegetable seeds, in my opinion, so hats off to you for trying your hand at the dahlia seeds! I have some rose seeds I collected from my rose bush’s rose hips this fall that I want to try to grow. I’ve never tried growing roses from seed, but am really curious!!
As always a beautiful post! Love your tip to mix in native soil! Have you ever tried winter sowing? using milk jugs as mini outdoor greenhouses? I’ve been doing it for years…it’s a wonderful way to start native seeds that need stratification. Happy planting!
pretty nice
Great tips on starting seeds at home! Your personal stories make it even more relatable and enjoyable. Can’t wait to try it myself! 🌿🍅
Let's Be Penpals!
from my homestead to your inbox