

Why We did the Remodel
I’ve always photographed my dishes where I cook them, in the kitchen or dining room of my home. This was true when I had a tiny apartment in LA when I first started Adventures in Cooking, and it was true up until a couple months ago. And during that 8 year period, I accumulated a whoooooole lotta stuff for work. Plates, vintage silverware, lots of tablecloths, table runner, napkins, vases, place settings….there were just a lot of things. And over time, there became less and less room in the house for the things, not to mention the random places things were stored. All my camera gear was in the living room and tripods tucked into hall closets along with reflectors shoved between winter coats. Additionally, all the plates and linens and other bits and bobs that I use for my work were always scattered randomly in cupboards and cabinets and surfaces all over the house, so every shoot was a constant struggle of trying to find “that one plate that I could have sworn was over here…” and then after the shoot was over I’d find it in a completely different part of the house. It was hard to maneuver what I needed out for a shoot, and then maneuver it all back into the places that they went afterwards. After 4 hours on my feet cooking and another hour hunched over a plate holding a heavy camera, it was the last thing I wanted to do. So, this past summer Jeremy and I decided to finally tackle a project we’d been planning for months—to remodel our garage and turn it into a little studio for my blog and First We Eat (we also needed a big open space to shoot the video tutorials for my online course).
The garage is a separate structure from the house, so in addition to the get-the-work-stuff-out-of-the-house problem, I also hoped it would help separate work time from family/personal time (which, if you’ve ever worked from home, you know can be very tricky to manage!) So, our overall goal for the space was to have a dedicated and organized location for me to shoot in outside of our normal home.


What We Did
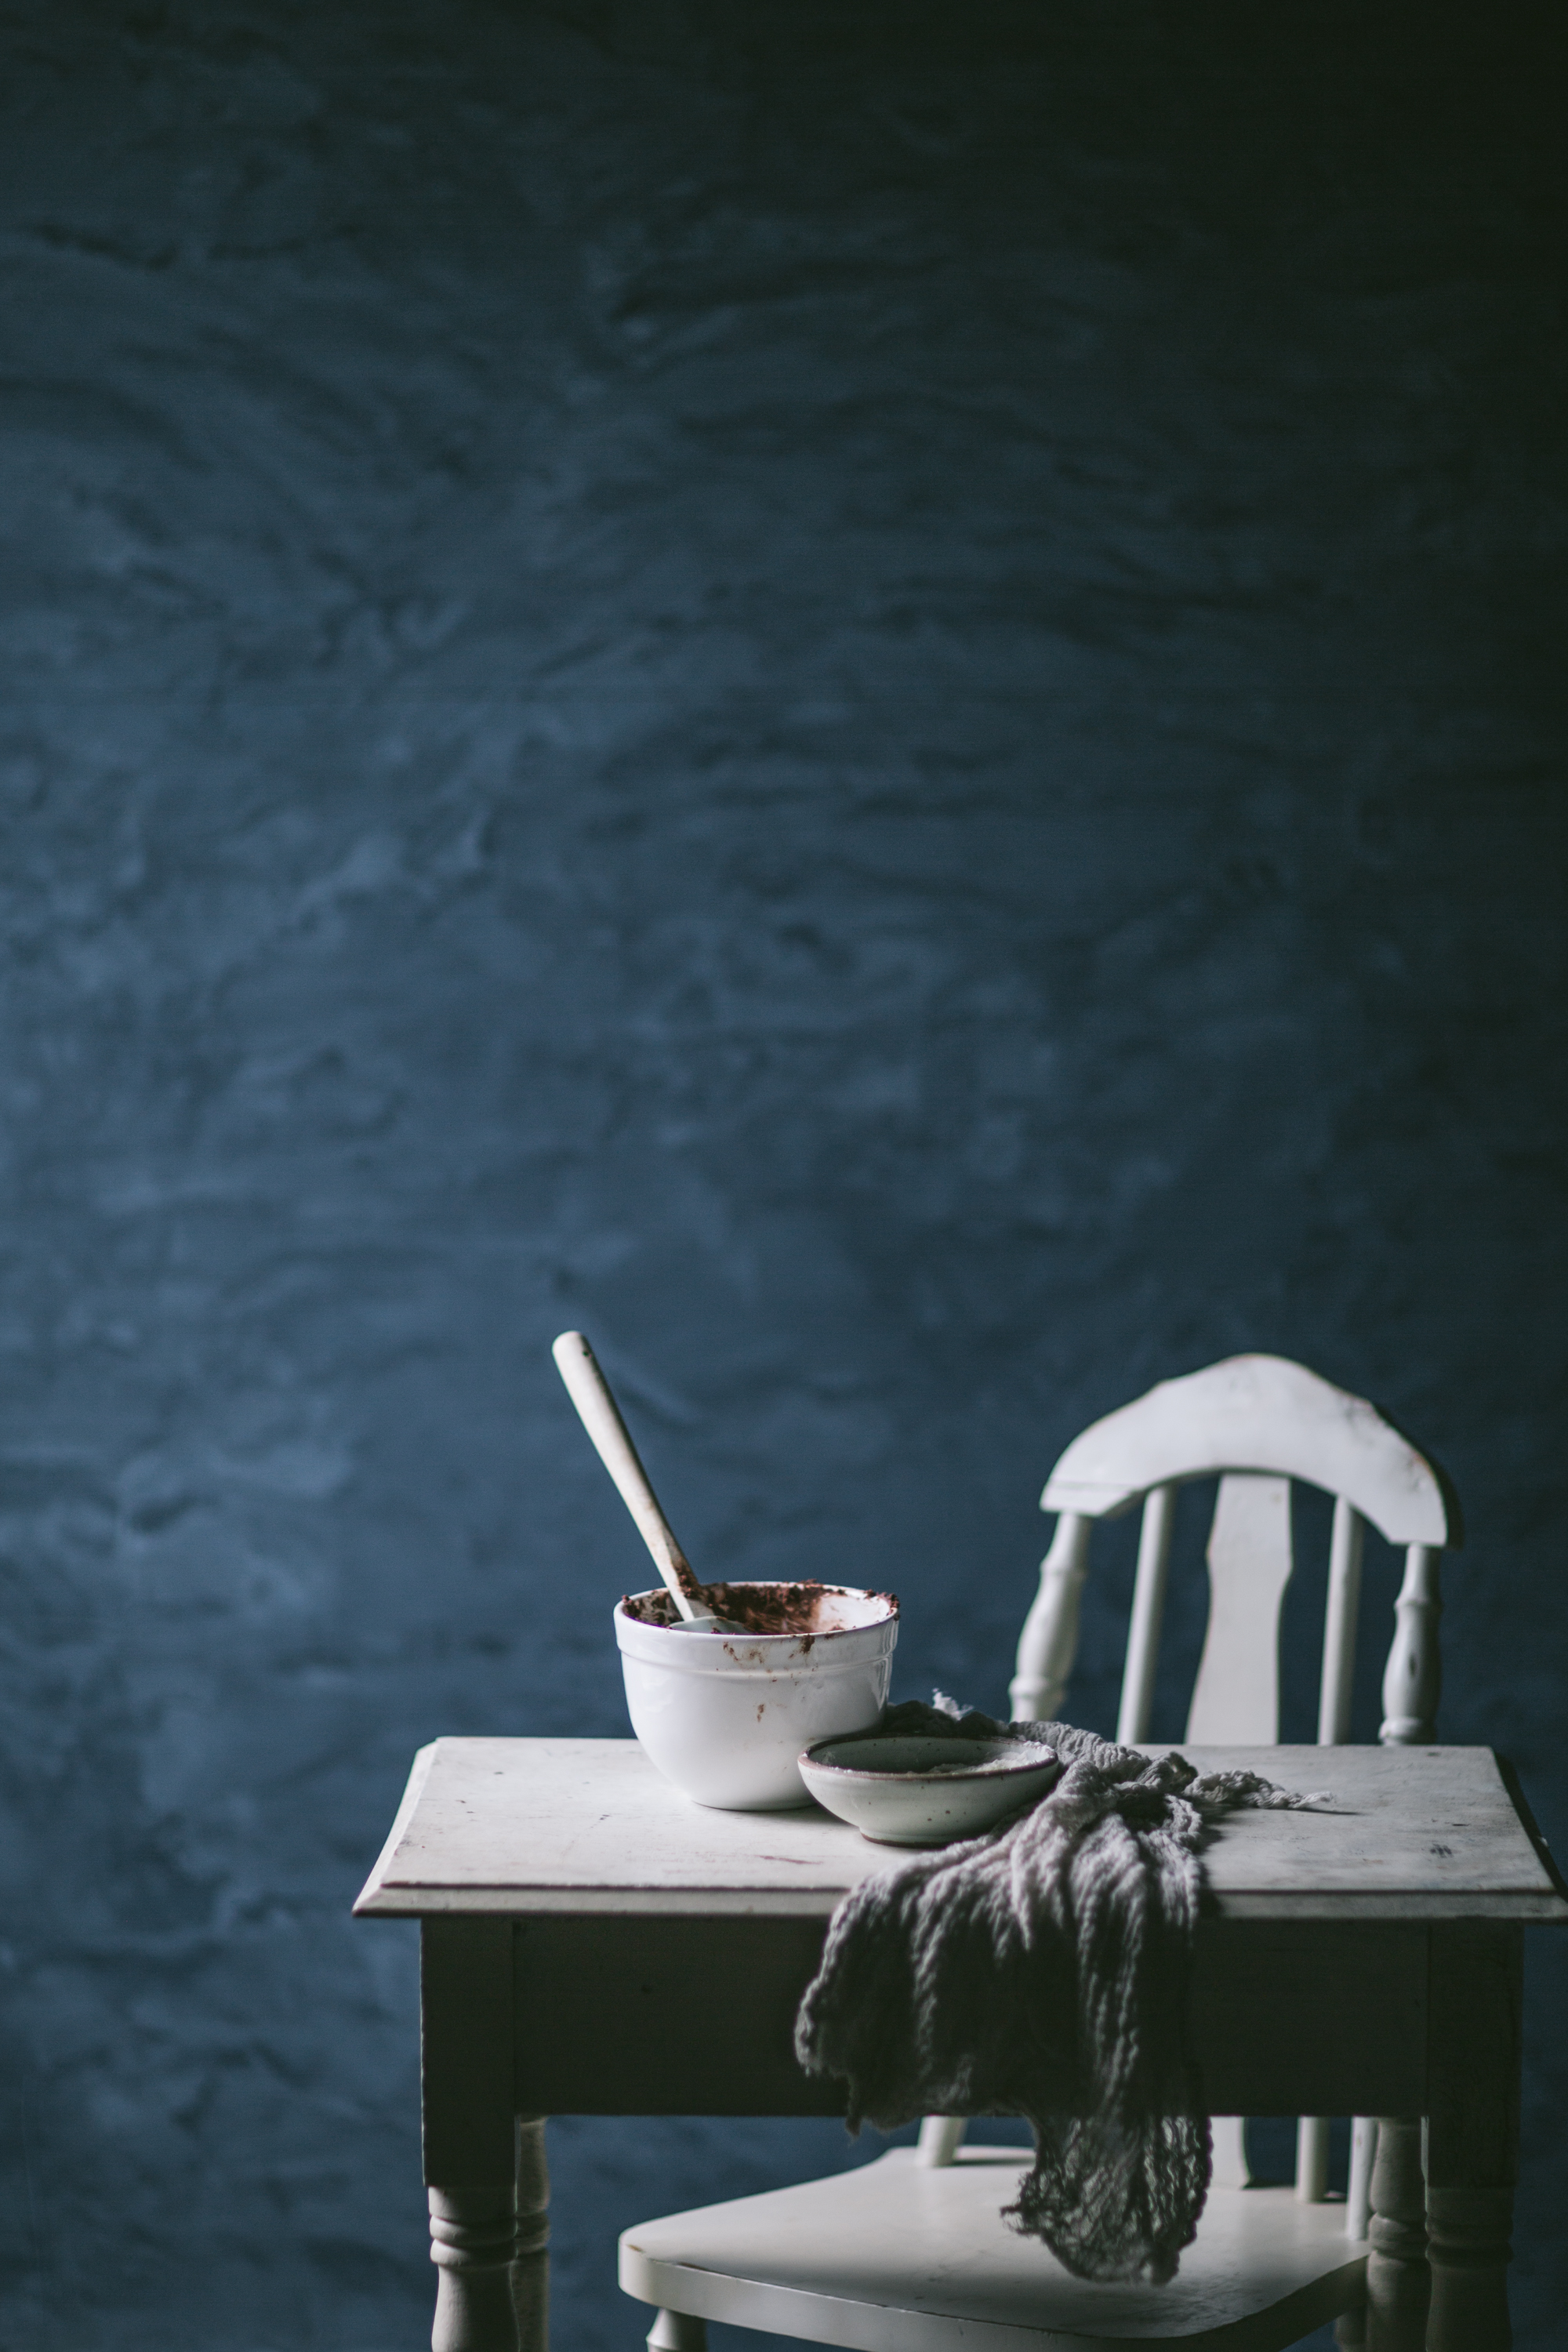
Since I am a natural light photographer, there definitely needed to be a window of some sort in the garage, but alas there was none. So, Jeremy framed learned how to frame out a window, and we found a really tall one at our local architectural salvage that would fit the wall height perfectly with a few inches to spare above and below it. The floor to ceiling window created a big single dramatic natural light source that was perfect for the space. We also insulated and drywalled the garage ourselves to make the temperature in there a little more stable, since the garage originally had neither and that mean that it was insanely hot in there in the summer and freezing in the winter. For the walls, I wanted to have two different shooting background options, so I plastered half of the back wall with ‘Fleur de Sel’ grey natural plaster from Master of Plaster, and painted the other half a dark grey color for a moodier background. I also had this crazy idea of a wall on wheels that I could move around and use as a backdrop, and Jeremy, being a carpentry genius and also used to my rambling ideas, made it an actual real thing. I plastered one side of it with ‘Morning Fog’ grey natural plaster from Master of Plaster, and the other side with ‘Smoky Blue’ natural plaster from Master of Plaster, so that way I would have a light and a dark side to photograph against.

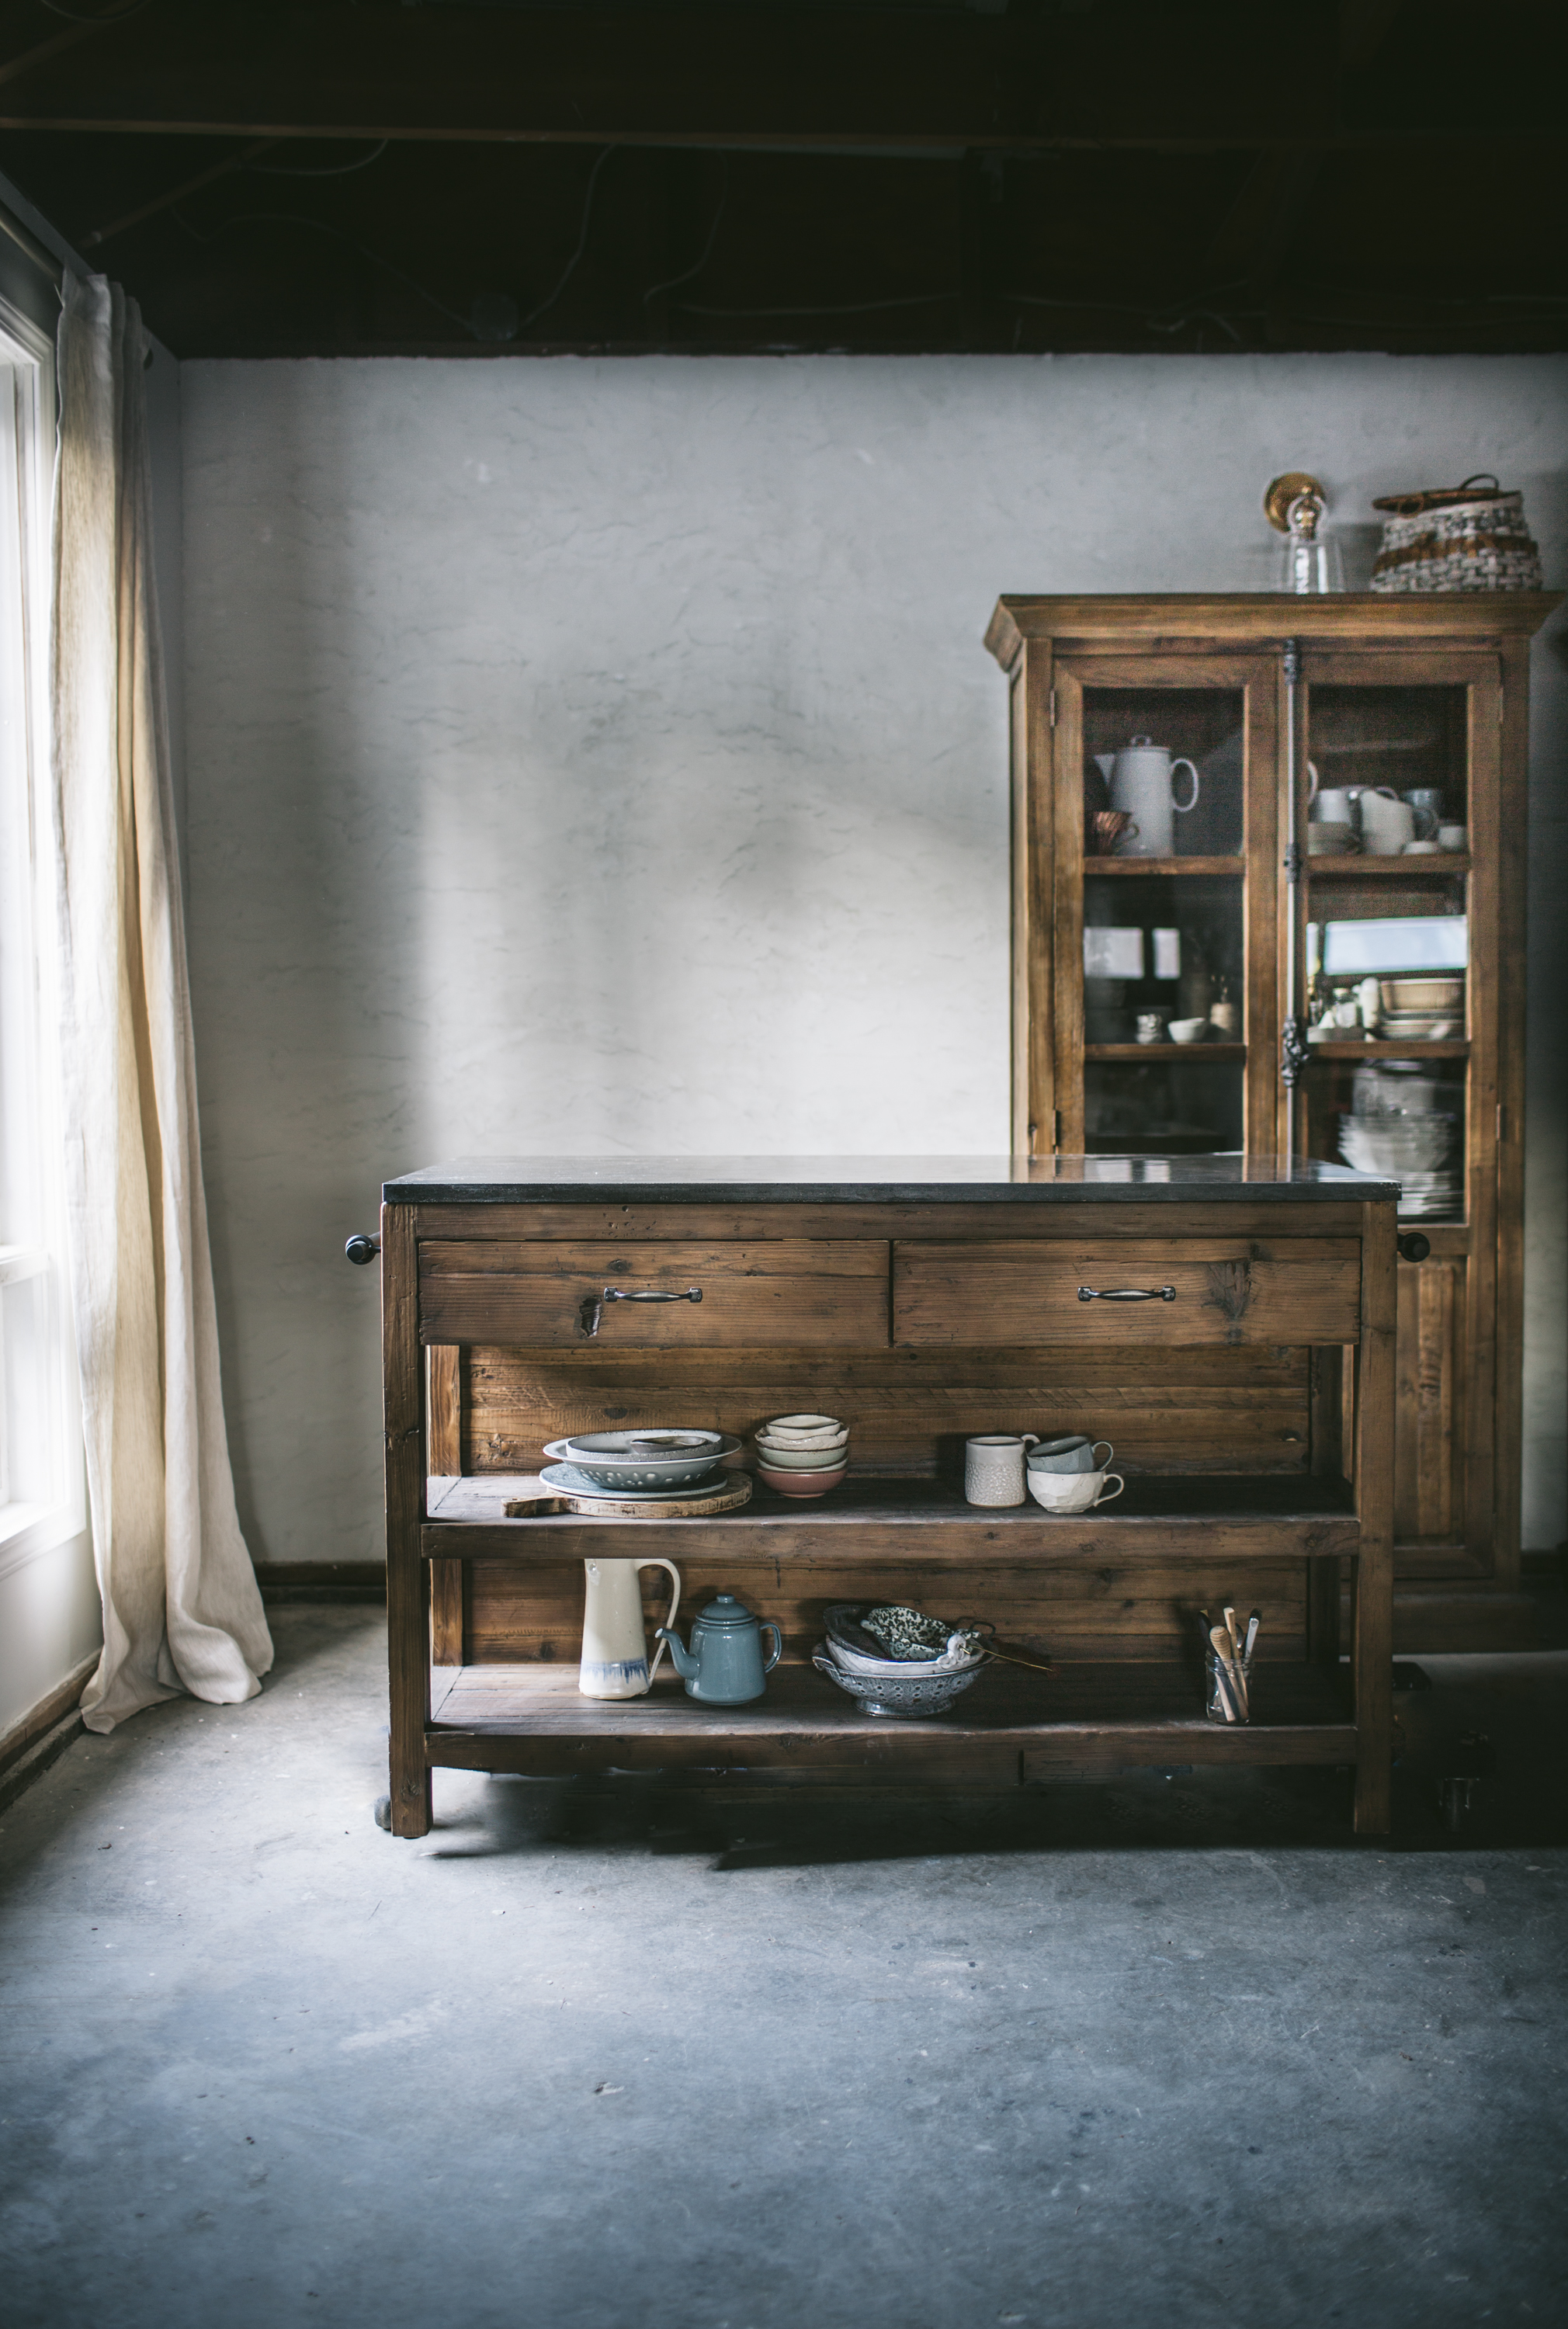
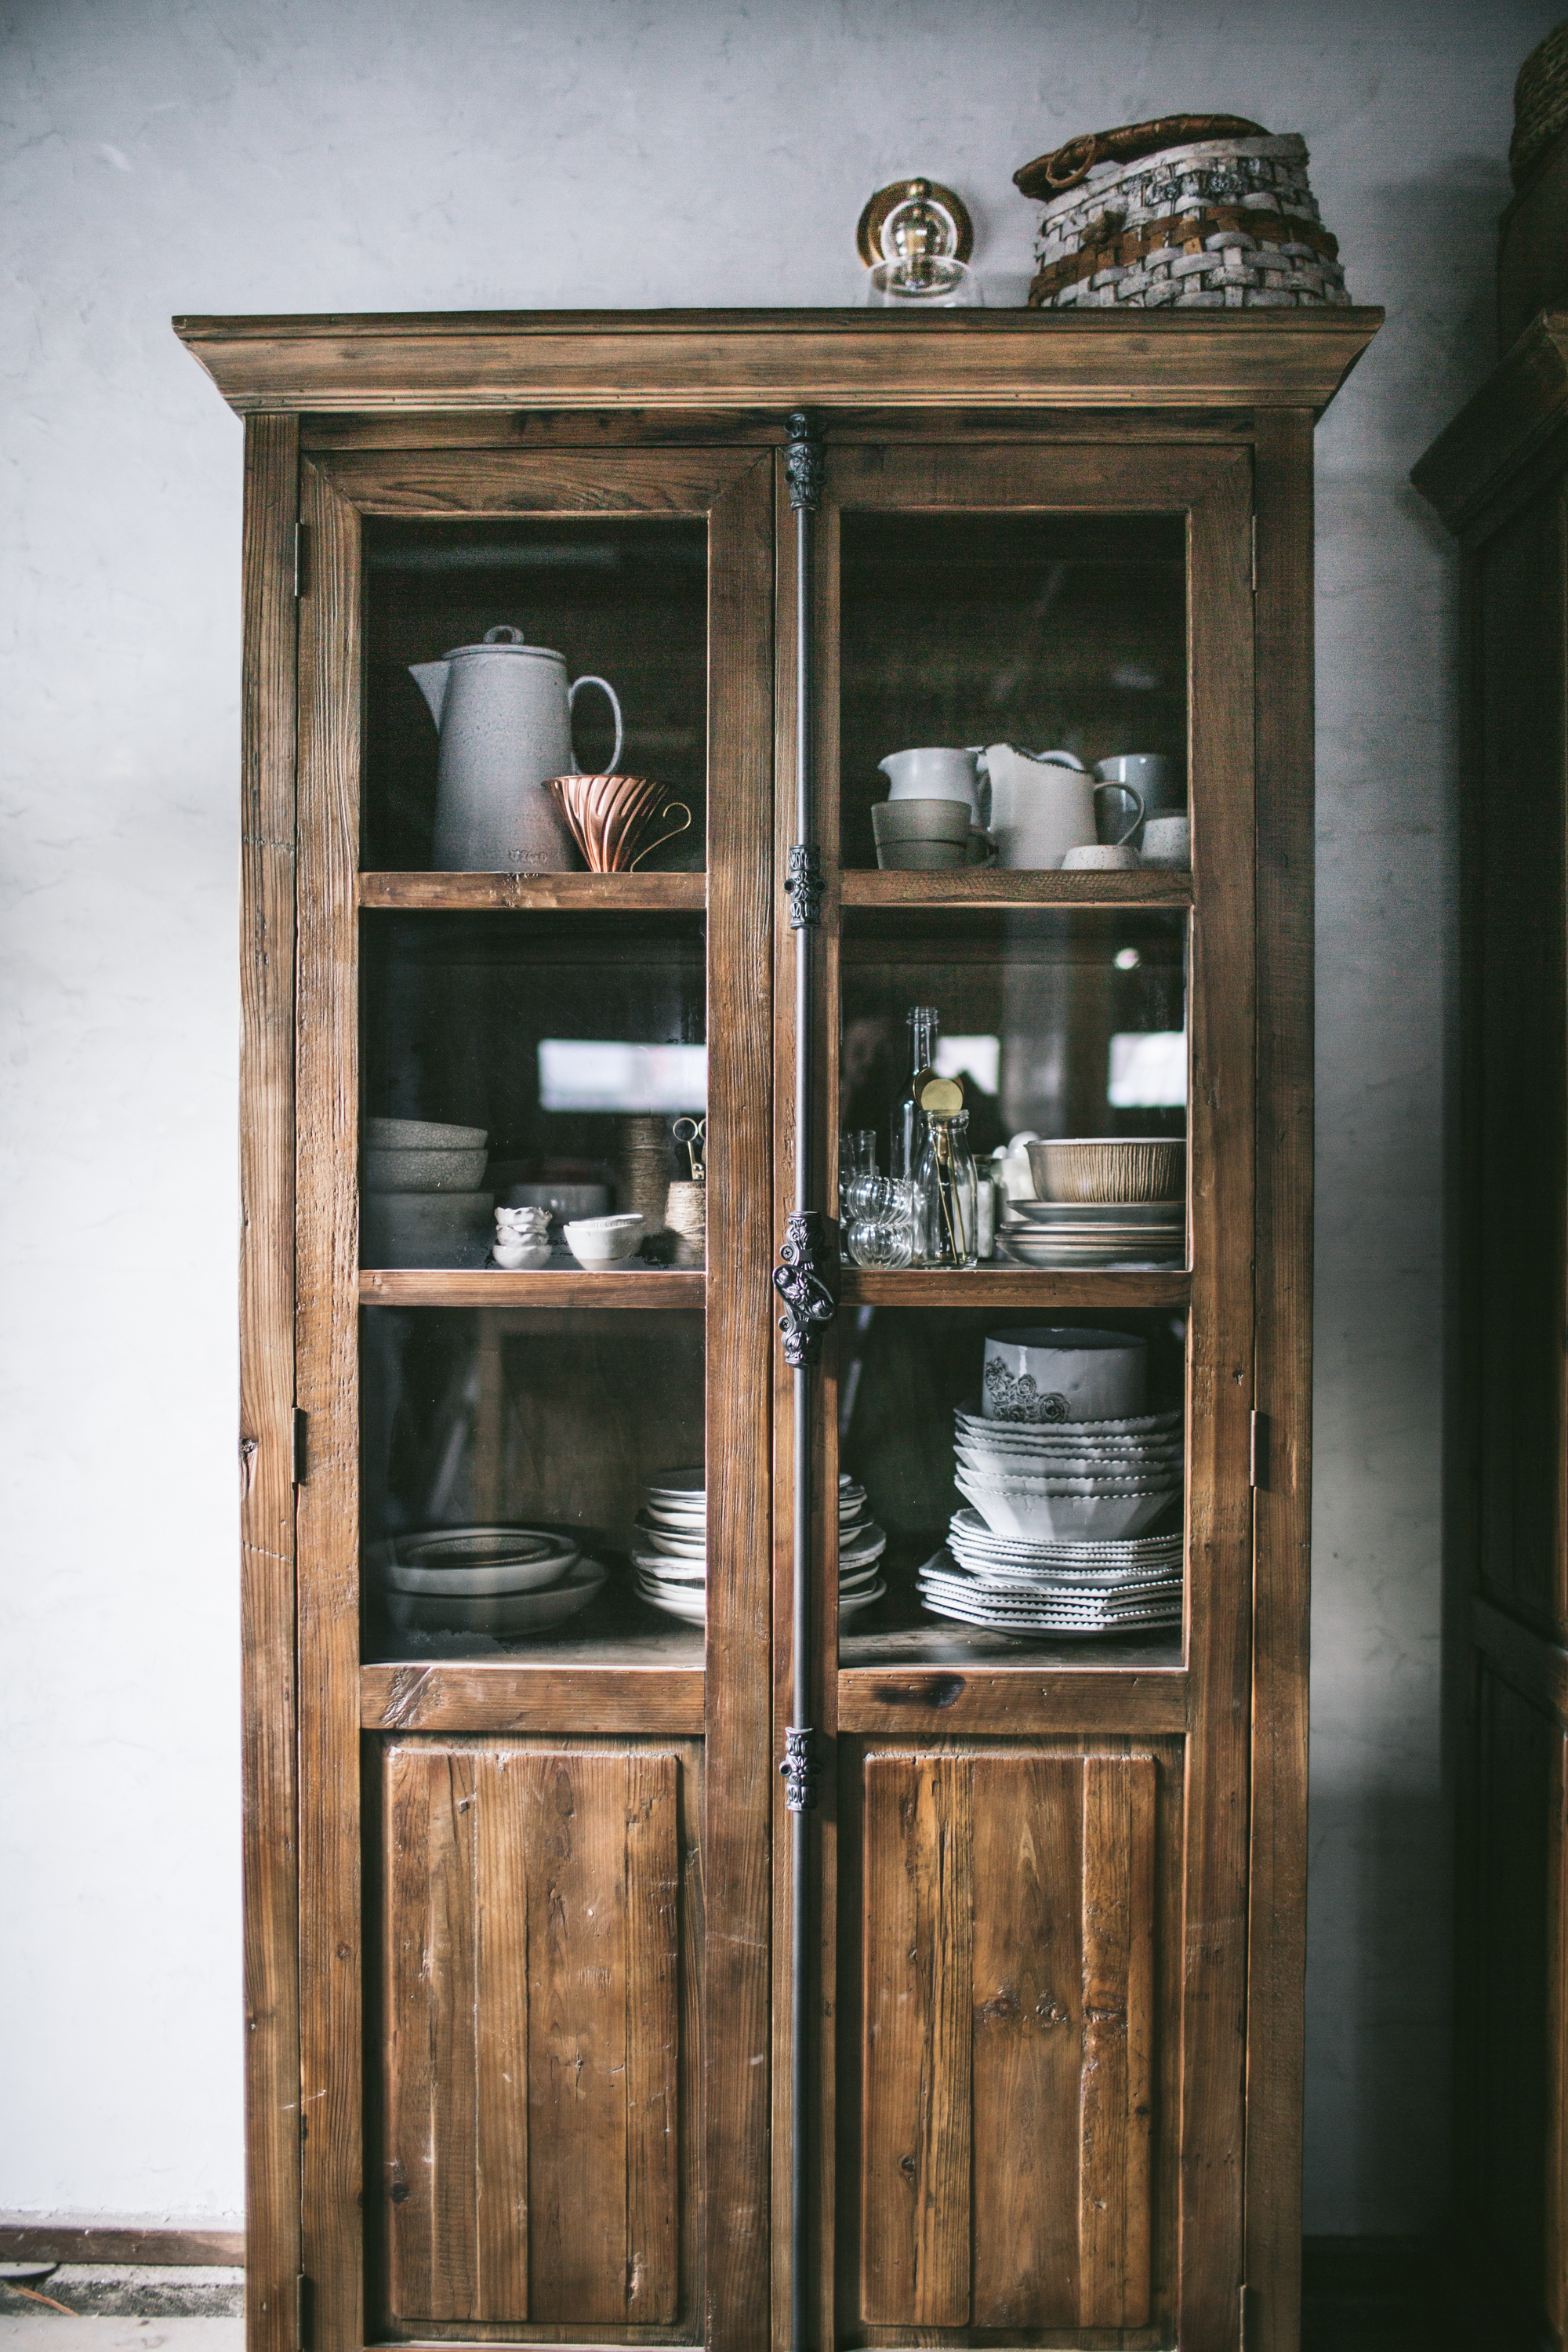
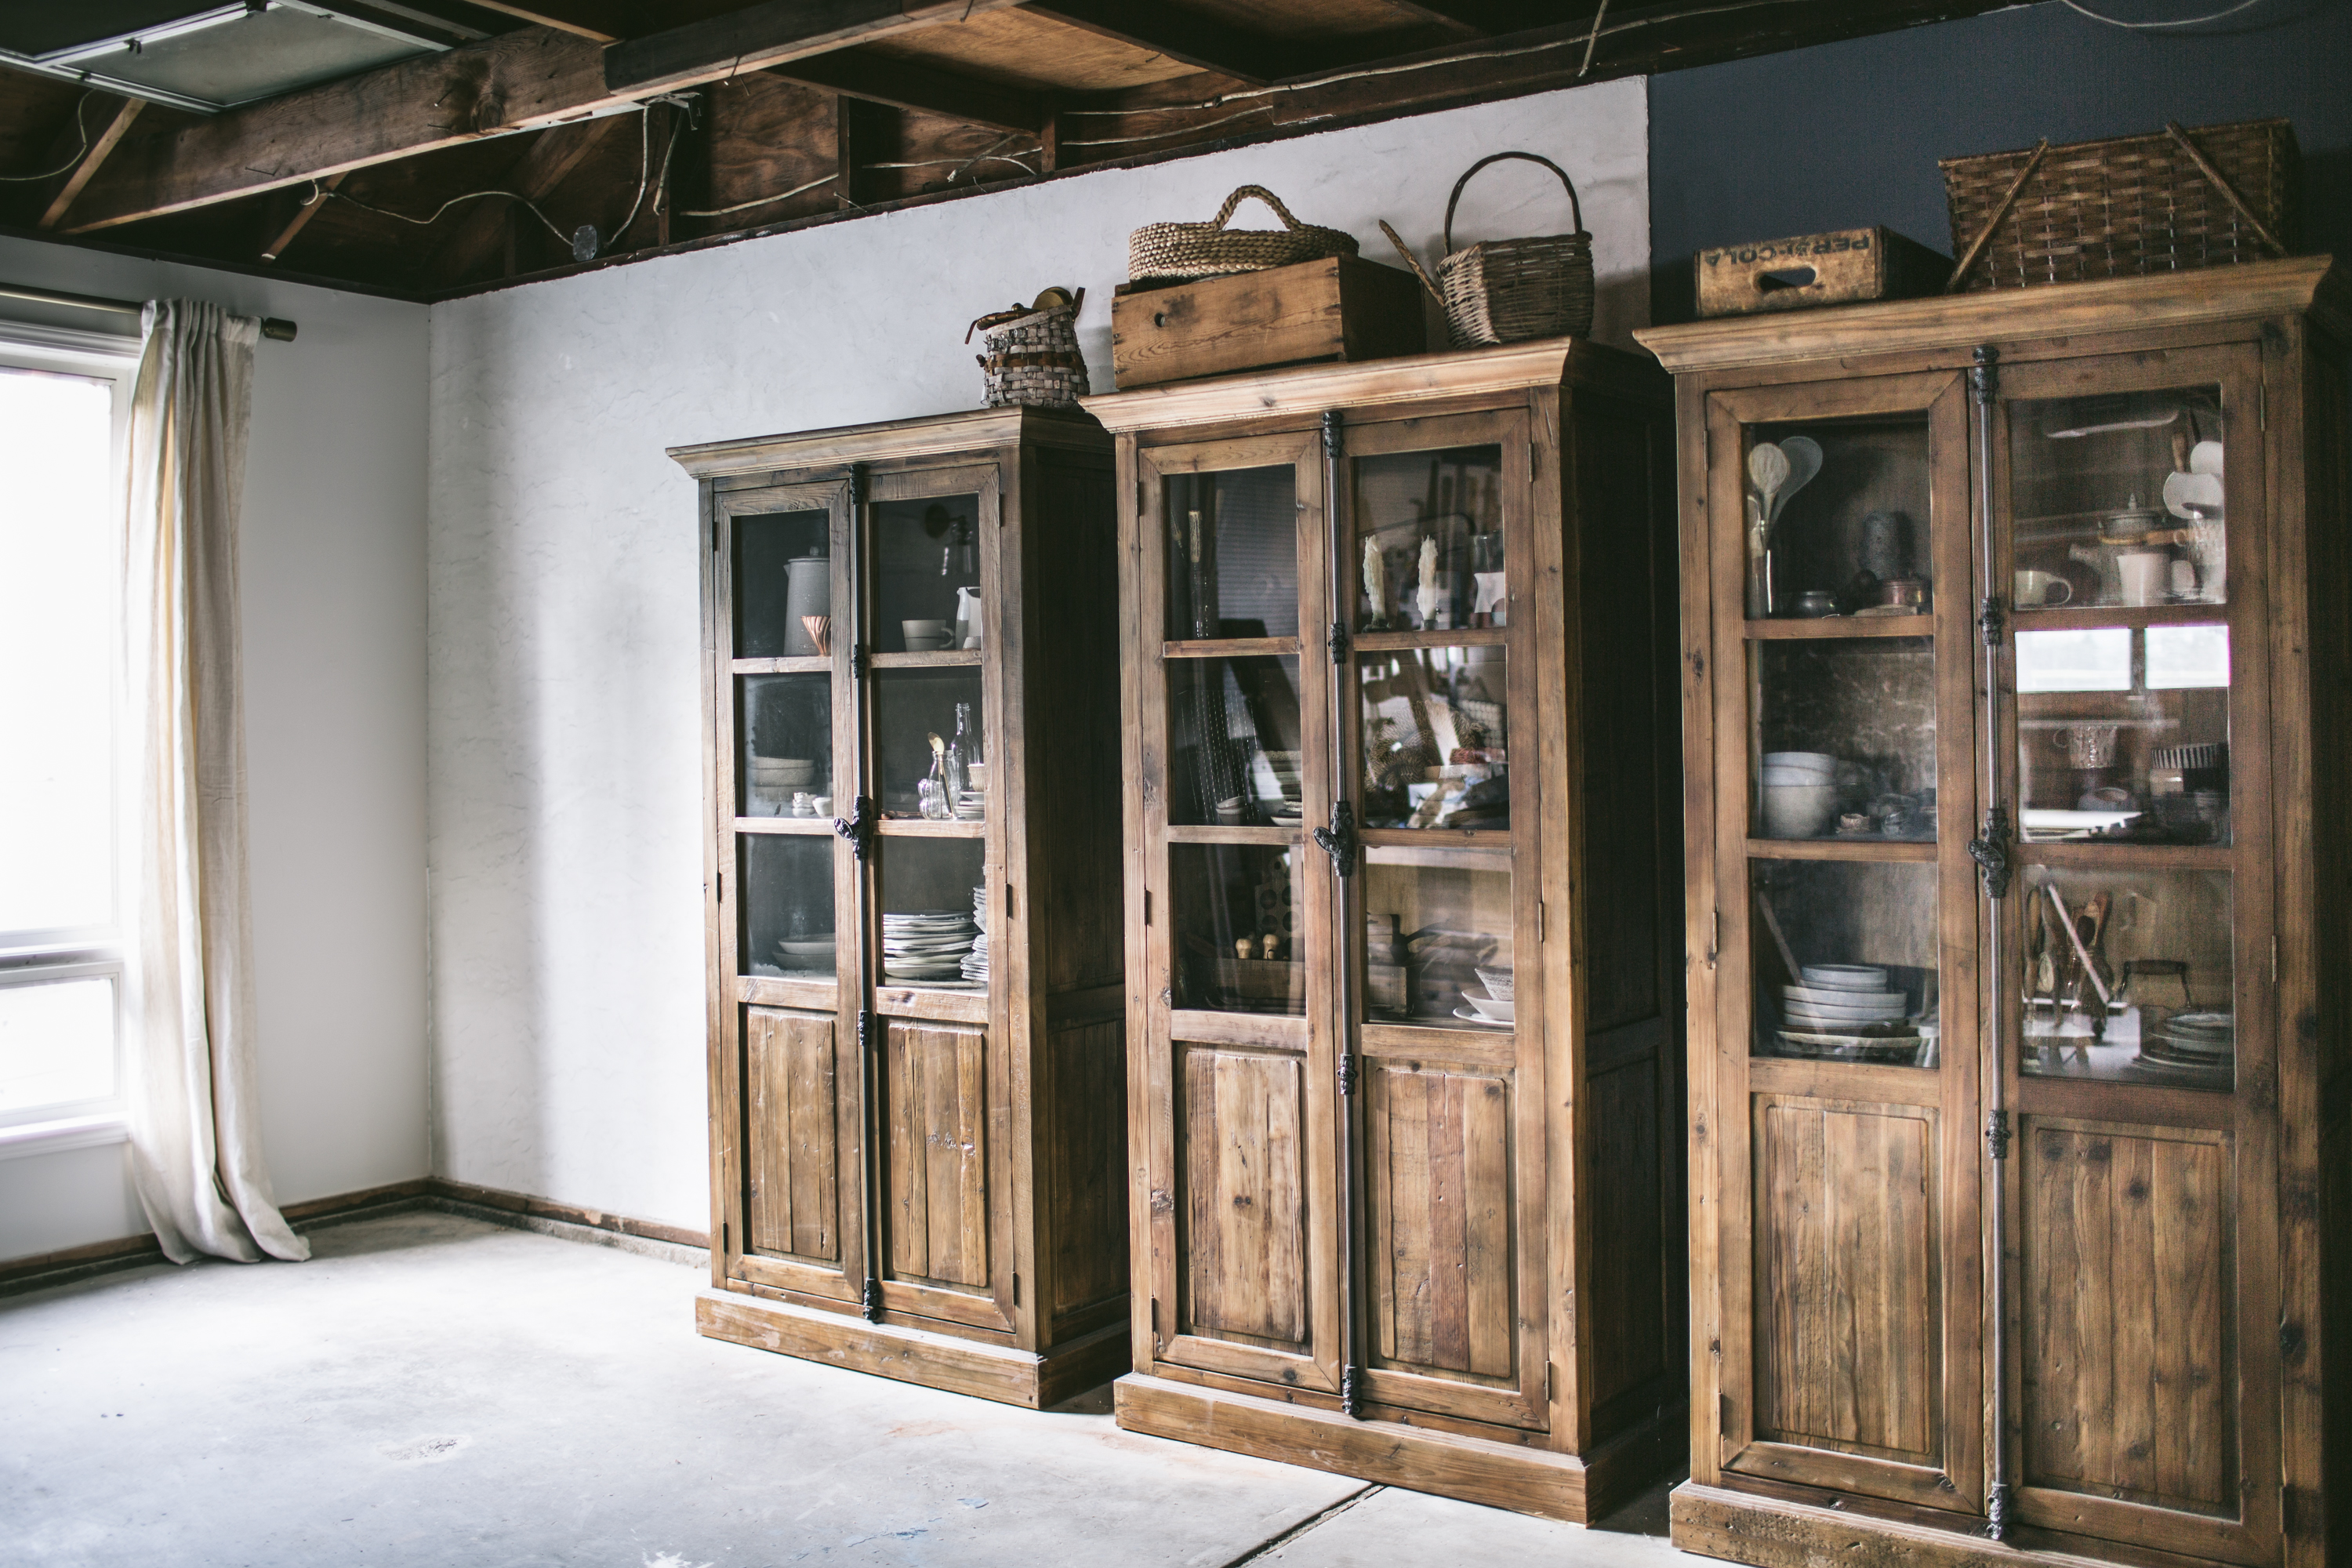
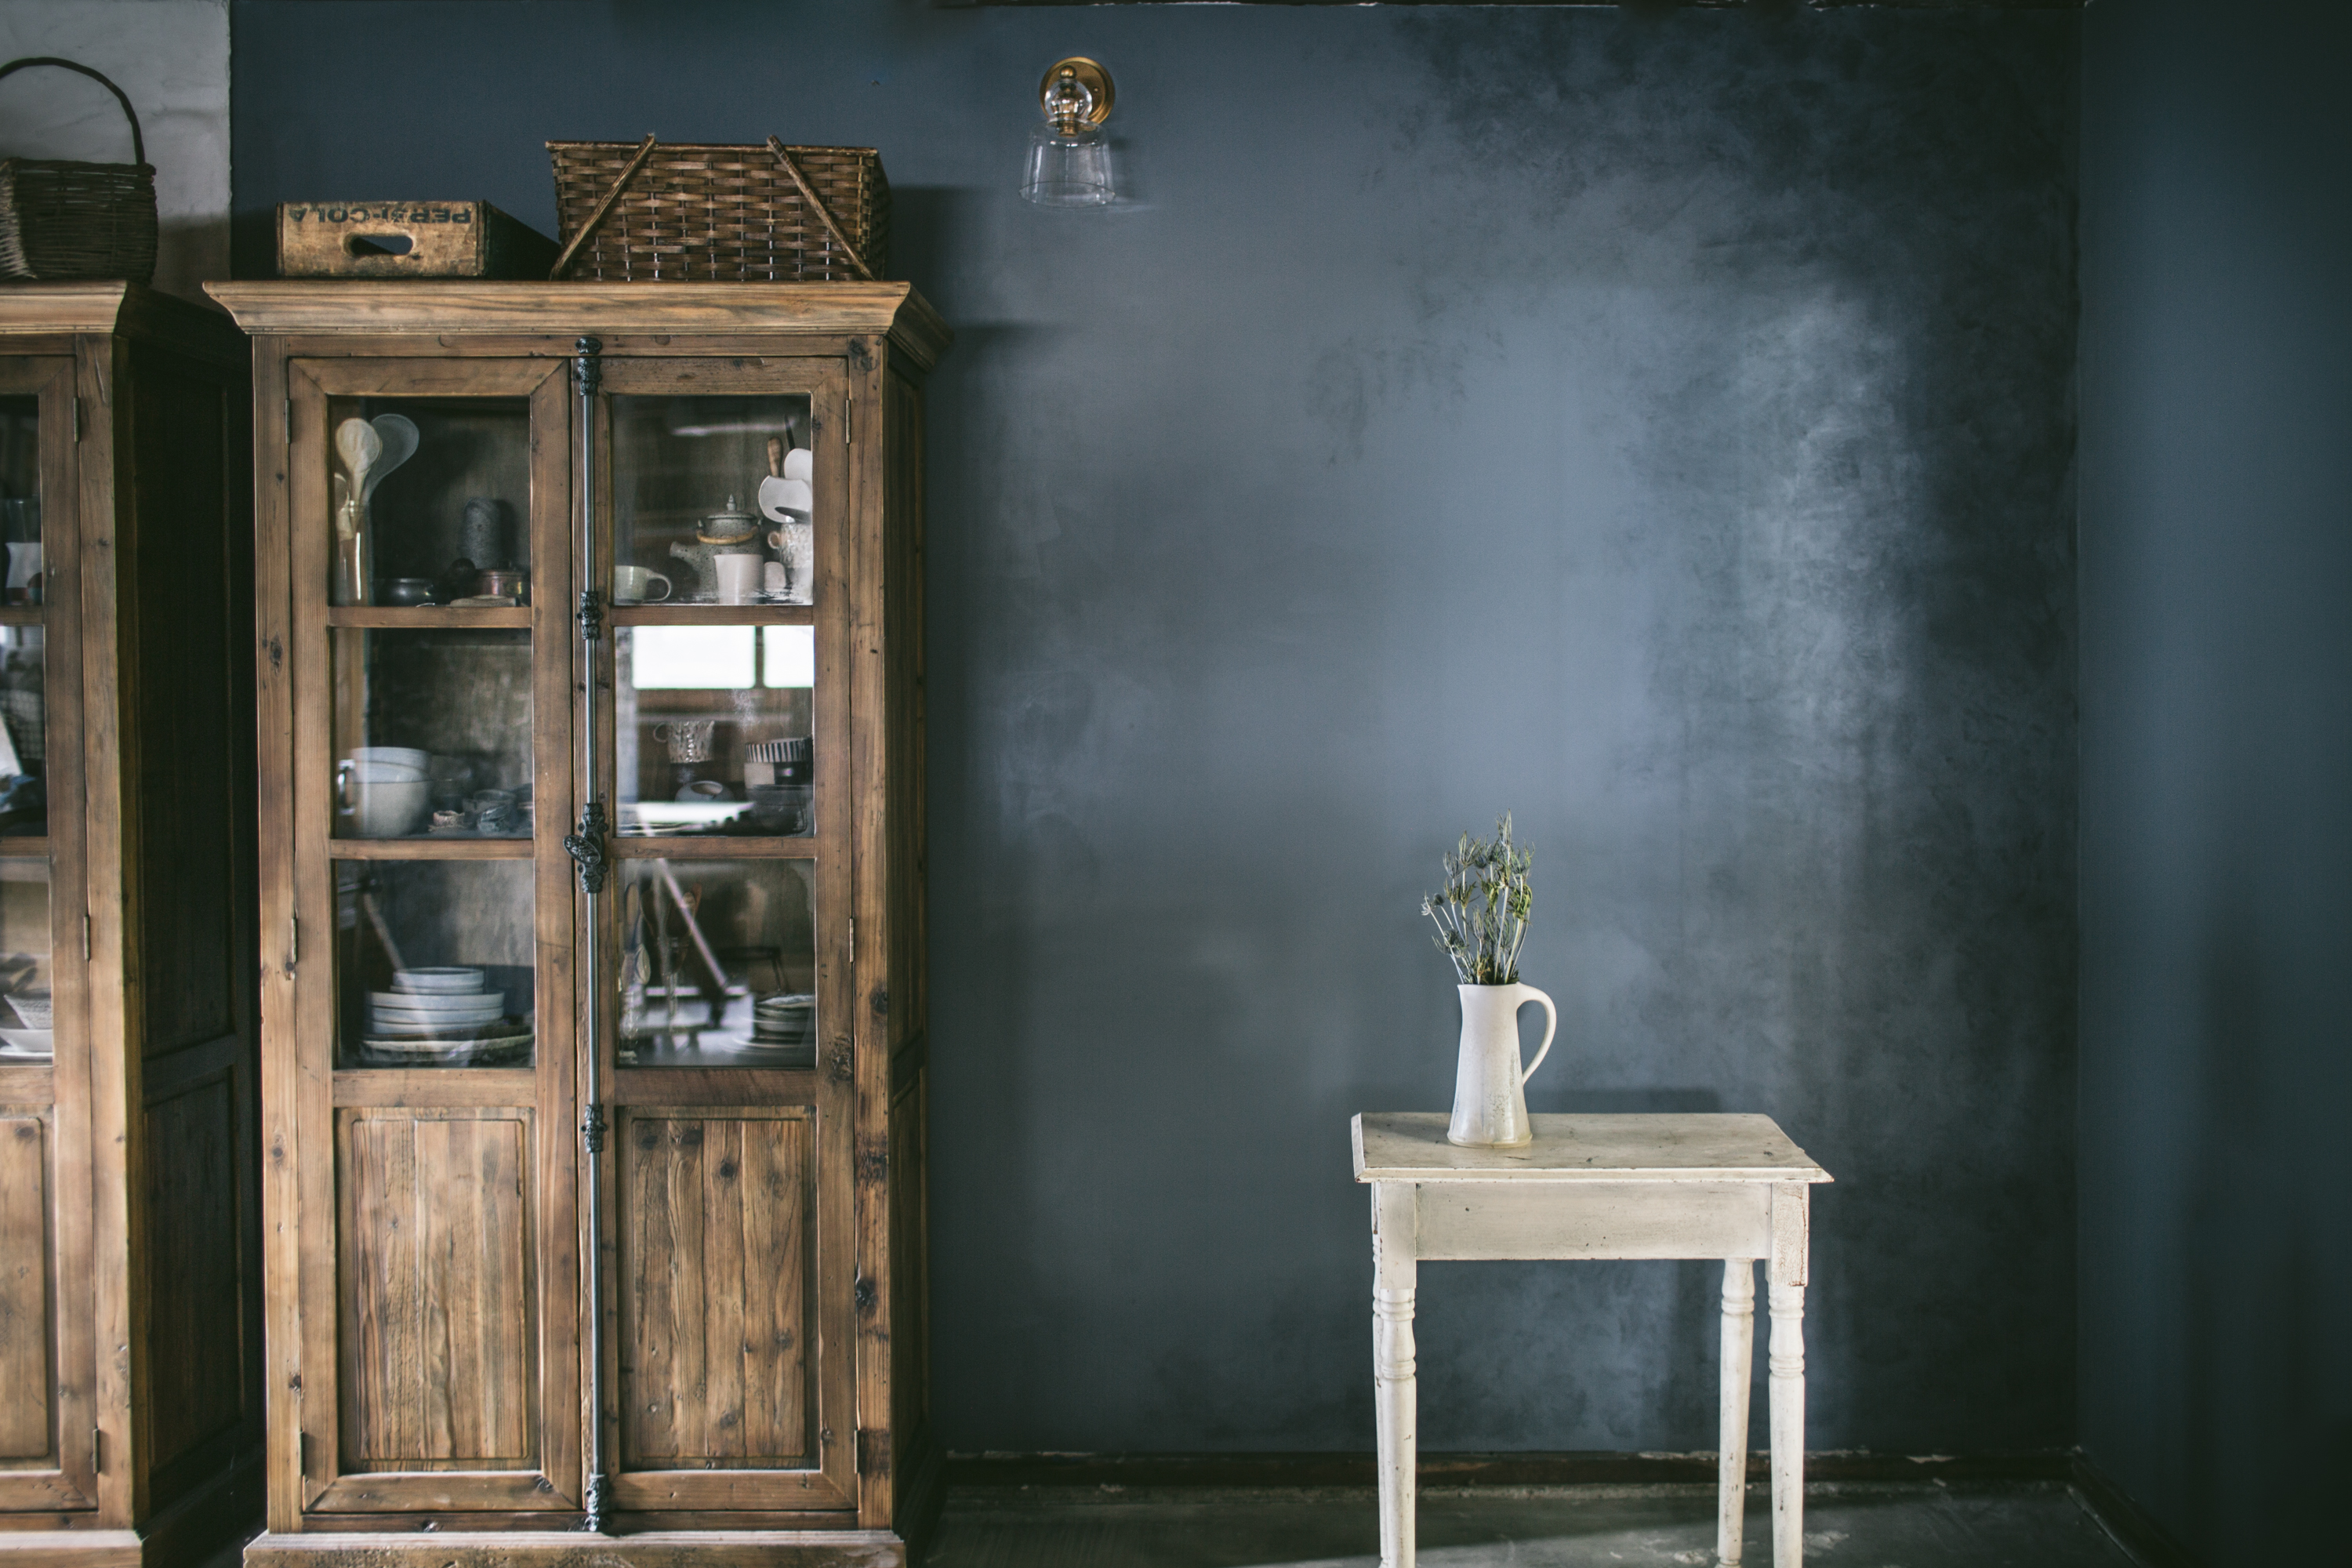 Storage/furniture-wise, I wanted to have a stone shooting surface that I could use for making pastries, (since I do that a lot), and one that would also offer storage options as well. I found the perfect marriage of the two in this *insanely* gorgeous and rustic Blue Stone Reclaimed Kitchen Island, which has this beautiful dark grey-ish blue stone slab on top and plenty of drawers and shelves for storing dishes, flatware, and the like. I also needed more storage options for my ceramics and linens, and found these Bedford cabinets which matched the rustic feel of the island perfectly. I also really liked that only the top half of the cabinet had a window, so that way I could keep the less-attractive props like gaff tape and remote shutter controls tucked away out of sight in the lower shelves, but still within easy access.
 For lighting, I needed something minimal but elegant that would go with the overall look of the space. The Landers Brass Sconce stood out to me as the perfect choice, I’m kind of obsessed with brass fixtures and the old-world feeling that they have, but the way the glass was formed gave this one a slightly more modern and simple feel, which I loved. I also needed a window covering to help block light as needed, and I needed the colors to be relatively neutral to go with whatever setting I was creating in the studio space. I went with the Barnes Antique Brass Curtain Hardware paired with the Largo Linen Natural Curtain, since it matched the light fixtures really well and the curtain had the most beautiful soft oatmeal color to it. And because no room is complete without a little greenery in it (at least in my book!), I brought in a cactus friend to the room and transplanted it into this Slant Cement Planter, which matched the cement floors and allowed the beauty of my new little cactus friend to shine.
Now that it’s done, I couldn’t be happier about the transformation of the space. Going from a garage to a photo studio was a huuuuuuge remodel project that took us a few months longer than we’d planned (especially since we did all the drywalling, insulating, plastering etc., ourselves), but I think putting in all that elbow grease made it even more rewarding when it was done. Now I get to work in a space that not only works in a functional, organized way, but that also gives me a wide open blank slate to fill with tasty food! 🙂

What We Used
‘Smoky Blue’ navy blue natural plaster from Master of Plaster
‘Morning Fog’ grey natural plaster from Master of Plaster
‘Fleur de Sel’ grey natural plaster from Master of Plaster
Blue Stone Reclaimed Kitchen Island
Bedford Cabinets
Landers Brass Sconce
Barnes Antique Brass Curtain Hardware
Largo Linen Natural Curtain
Slant Cement Planter


Lol 100% relate on the shoving tripods and reflectors into the winter coat cupboard :’D
This space looks gorgeous and I’m so impressed you did it all yourselves!! The thoughtfulness into every detail is also very inspiring. Studio goals!
oh wow it looks really good!!!
Nice job!
What a beautiful studio! Brilliant idea with the wall on wheels. Thanks for sharing this transformation. It’s gorgeous!!!
HellloEve,
How excellent that you have shared this…I am a painter in a downsized new ranch. Ivethought of making a painting studio in my small attached garage but our HOA doses not allowed cars parked outside.boo! I would use many of your ideas even tho I generally prefer my own!
I wish you a very happy New Year with much success.
Yours
Patricia
Apologies Eva,
I typed e instead of a.
❤️❤️❤️❤️❤️❤️
Eva, what a beautiful, new studio. I love the textured-looking walls. Great color choice. You would never know this was a garage. The furniture choices are gorgeous too. Your photos always shine but I imagine this space is going to be so much fun to work in.
I also appreciate that you shared the sourcing on everything.
Love the prop storage units and furniture too. Just lovely all around. Enjoy!
This looks so fantastic! Kudos to you and Jeremy for making such a great space!!
Excellent solution for you and your husband. Very industrious as well. You must feel so good about this space. I’m excited to see what you create in the garage studio.
Best wishes!
Thank you to share this with us. I know that your all your picture will be beautiful in the future..
Happy New Year to you.
Thanks for charing and inspiring us … again 😉
Hi Eva, The studio came out amazing and so dreamy looking. Love every detail starting from the moving wall, the island, the cabinets and the color of the studio. I feel so identify with the weird spaces, where I keep some of my plates and props for photos. Thank you for sharing your magical space.
Eva, this is fantastic,I especially love the colors and the “pull walls” I get it,home is home. I am one to talk I do all within
my 4 walls,2 floors. Cook?Bake my medicinals, Rug Hooking and Writing, Draw/Paint, etc. I carved out little stations if you will!
Congrats on this venture-construction new/reno is such a challenge! Your looking so darlin of late-THE GOOD LIFE,dear. Debra
You guys did an amazing job!! You’d never know it was ever a garage. You have such beautiful taste! Love the plaster colors you picked and the furniture. It’s such a warm and pretty space! Can’t wait to see all the gorgeous photos you’re going to shoot here.
I’m dying at how beautiful this is. Dying. Love everything about this. Happy that your business is booming.
xox
What a project! I love your kit – and I wish I could do something similar with all my kitchen paraphernalia. There is a moratorium on me bringing any more plates into the house!
Absolutely stunning! Your wall on wheels is genius! Awesome job guys! xo
Hi Eva,
What a perfect studio. Wish you a great time in there. Thanks a lot for sharing 🙂
Eva
Eva, your new studio space is gorgeous!!! The colours and textures are so beautiful and so is the light so I know you will create lots and lots of magic in there! Both you and your husband did an amazing job and it must feel so rewarding. Sending big hug from Croatia!
Gorgeous.😍 Just want to curl up with a coffee or cocktail and spend all my hours in there. Well done!
this space is an absolute dream!
Awesome transformation! Good job, Jeremy! Love the movable wall… great idea… Will there be future workshops in you new studio?
hee-hoo-hee-hoooooo ok i’m done creepily hyperventilating. I am astonished by this transformation and hey, I totally would NOT MIND if this were my living room! Such a job well done you guys 😀 Everything about it is what I would’ve done or chosen, and the grey theme everywhere is so relaxing. PS: Is there anything Jeremy cannot do? 😉
I’m such an admirer of your styling and photography, I can’t stay away from anything you post. After being in the buying and selling vintage for so many years I finally picked up a camera. And though I have so much to learn, please know it was your photography that has inspired me the most… @picturerenee
This is beautiful! Do you have appliances in here as well?
So stunning thank you for sharing and love your candid and fun writing Eva
Abolutely love it, such a pretty studio! Would feel so inspired to cook there!
It’s perfect! Congratulations 🙂
Absolutely great. I can totally relate to tiny apartments and shootings in small spaces. The work you have done here is perfect!
Fantastic conversion project! Linen curtains fit beautifully in this new setup!
Eva,
The walls on wheels are such a brilliant idea. I’d love to make something like them someday.
I’m curious about the natural light from the window.
Which cardinal direction does it face?
I have a garage and now am considering the possibilities…
Such an amazing idea.Very very impressive information and well written stuff. Thanks a lot for sharing such a helpful guide.
Itis very inspiring to have a dedicated space to create such beautiful images! Cannot wait to find my own house in France and start renovating to finally have my own studio… 10 years shooting in my apartement is getting a bit too long for me to be honest… Love your cabinets <3 Thanks for sharing
Let's Be Penpals!
from my homestead to your inbox